
It’s official! You’re beginning your journey toward a more engaged, personalized classroom powered by Screencastify. Here’s the best part: creating, sharing, and assessing is incredibly simple. (Related: Listen below to learn about Screencastify's newest features!)
Below, we’ll help you get started in just a few, quick steps. If you’re partial to video like us, you can see all of the steps detailed below in our 15-minute certification course, The Flash.
Set up the extension
First, you’ll want to make sure you’ve installed your new trusty sidekick, Screencastify Record. The extension will allow you to create videos with just a click. The first time you use Screencastify Record, you’ll go through a quick three step process to get everything set up and ready to go.
- Log in to the extension with your Google Account. We strongly recommend that you automatically save videos to your Google Drive (thank us later!)
- Accept the permissions: Chrome will ask for a few permissions for the extension to run optimally. In a nutshell, these permissions allow us to create a folder in your Google Drive account entitled "Screencastify", access your webcam and microphone, record your screen, and display our annotation tools.
- Introduce yourself: Don’t worry - you won’t need to share any awkward facts. Instead, you’ll just answer a 2-question survey to make it easier for us to help you along your journey.
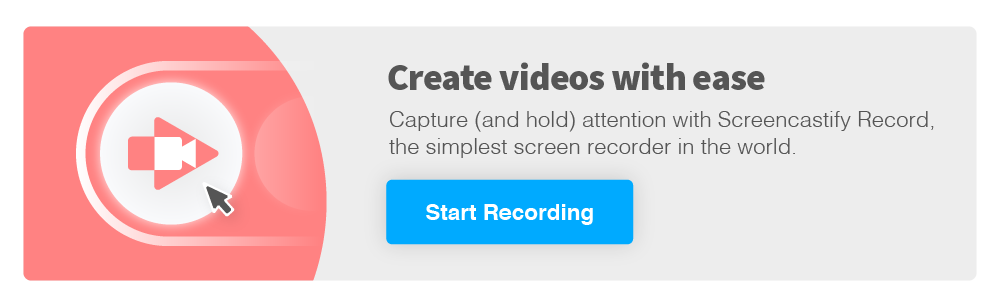
Create a video
Now that the extension is fully set up, you're ready to start recording ⏺. The great news is that you have lots of options to create a video that’s perfect for you and your audience.To create the perfect video, you’ll just need to think about a few settings.
- Decide what you’d like to record: Screencastify includes three different recording types. Want to capture everything on screen? You’ll love the desktop option. You can also capture a single tab with a browser tab recording or just your webcam with the webcam option.
- Enable the annotation tools: When you enable the annotation tools, you can use the pen tool, rectangle tool, or stickers to capture and retain viewer attention on the most important aspects of your video.
Add in computer audio: If you’d like to include audio emanating from your computer (like a video or song), be sure to turn on desktop audio (for desktop recordings) or tab audio (for browser tab recordings)
Increase engagement with editing
A few edits can make a huge difference toward aiding viewer understanding. Luckily, you can edit your video with the click of a button).
- Access the editor: Adding your video to the timeline is as simple as clicking the “Open in Editor” button on the top right of the Video Management Page. (Pro Tip: You can also edit videos you created anywhere by heading straight to edit.screencastify.com)
- Enhance your video: There are tons of ways to make your video better including adding text, zooming in on important information, or cropping out extraneous visual details.
- Export your beauty: Now that you’ve made your edits, you can export your video.
Assess viewer understanding
Before you share your video with your viewers, you may want to add a few elements to make it easier to assess how well they grasped the information in the recording. Enter: interactive questions!
To create a quick assessment, click “✏️ Interactive Questions'' on the right hand side of the Video Management Page. From there, you can add multiple choice questions to specific timestamps in the video.
Share your video
At this point in your journey, you’ve created a video, edited it for maximum effectiveness, and added questions to quickly assess viewer comprehension. It’s officially time to share the video with your audience! To get the video in front of your audience, you have lots of options! Check out a few below:
- Share the link to the Watch Page: The Screencastify Watch Page is a distraction-free place for viewers to watch your videos. To share the link to the Watch Page directly, you’ll just need to click “Copy Share Link” on the top right of the Video Management Page.
- Share the video to another tool: Screencastify has integrations with tools like Google Classroom, Wakelet, Remind, and more. When you use any of these integrations, your viewers will be taken to the Watch Page to see your questions.
- Export your video: In addition to linking to your video, you can also export your video as an mp4, mp3, or even an animated GIF.
Analyze viewer analytics and responses
Now that your audience has seen your video, you’ll have access to data 📈. Namely, you’ll be able to see Viewer Analytics and responses to Interactive Questions.
- Viewer Analytics: Viewer Analytics allow you to see who's watched your video, when, and how many times. It’s a great way to monitor engagement simply.
- Interactive Questions Data: When viewers respond to your interactive questions, you’ll be able to organize their responses by individual, question, or video. This data should help understand where your viewers completely understand the concept and where there may be a bit more work to do.
🌟 If you’re looking for more robust information about how your viewers are understanding the content covered in your video, try asking them to create a video with Screencastify Submit.
That’s it! You’re more than ready to cultivate a classroom supercharged by video-based instruction. As you continue your video journey, be sure to check out professional learning resources on Screencastify University.